 Hey!! It's Wednesday again and that means it's time for another challenge from the Pink Papery Studios design team. This week I wanted to use one of the digital images and I thought I would show the steps to completing my Sista for those of you that may be new to digital stamping!! It's really easy!
1. When you purchase the digi-stamp, you'll receive the image in an email. Save it in a file and you'll always know where it is. I have a file in My Documents labeled Pink Papery Studios which is where I save all my digi images.
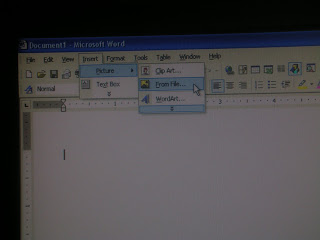
2. Open up MS Word (or the equivalent for your computer). You want to insert your digi-stamp into your document. For me, I go to INSERT, then PICTURE, then FROM FILE.
 Find your image on your computer. Again, keep them all in one file in your documents for quick and easy access!
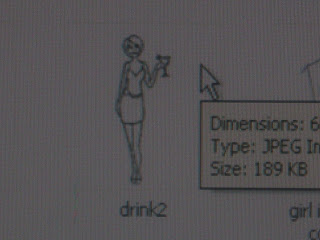
This is what you'll have. You can see that the image is really large.
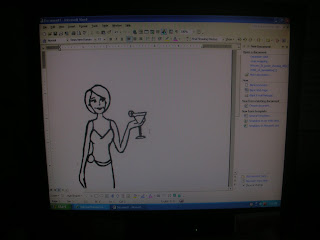 3. One of the great things about digi-stamps is that they can be sized to any project that you have! After you have inserted your image, you will want to re-size it. You can do this by clicking on the image and using the "drag" method. Or you can do it by inputting the size that you want. To do this, select the image by clicking on it once. Then RIGHT-CLICK and select FORMAT PICTURE.
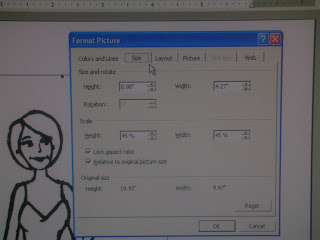 Go to the SIZE tab and change the height or the width to the size that you want. You only change one as they are somehow "connected together" so that they both change proportionally and your image doesn't distort.
 Once you have your image to the size that you want, print your image onto your cardstock. If I'm not sure what size I want, I sometimes insert the image several times and size it many different ways so that when I print I have lots of options.
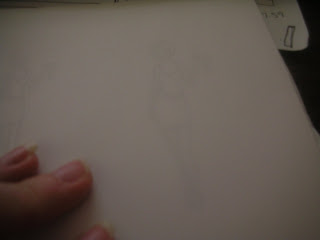
I wanted my Sista to wear a cute tunic so I knew I wanted to paper piece her top. It's very easy to do this with digi-stamps too!! I start by laying a piece of computer paper over my cardstock with my printed image. (You can just barely see it coming through)
 Then I cut the pattern paper that I want to use to size. I only need enough for her top.
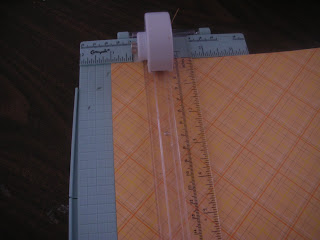
Then I cut the pattern paper that I want to use to size. I only need enough for her top.Using a glue stick, I glue the PP down on the computer paper, lining it up so that the portion I want to paper piece will print on my pattern paper. It is only necessary to glue down the top edge of your pattern paper. You can use a temporary adhesive but I just use a light swipe of a glue stick that I keep here by my computer. 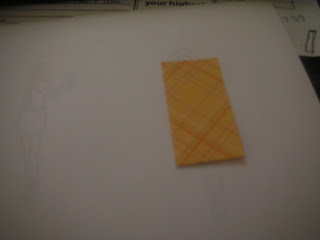
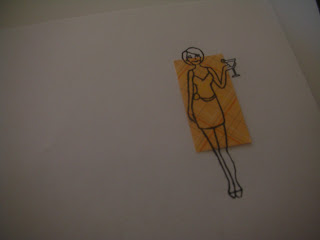
Insert your paper into your printer and print again. This is what you'll get!
You can just repeat the process as many times as you like for multiple cards or for different papers that you may need.
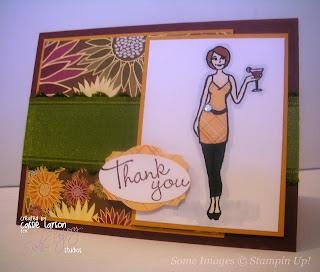
This week the design team was challenged to make a thank you card. Last week I subbed in my friend's Keno group and had a wonderful time! The hostess served this yummy Thai Chicken pizza and a Bar-B-Que pizza with pomegranate martinis. They were all DELICIOUS!!! Especially the martinis!! So I thought I would send her a thank you and this Simply Sistas image with her drink from Pink Papery Studios is perfect!! She's having a pomegranate martini just like I did!! The original image is just a cute little dress, but leggings are all the rage right now and so I added leggings to her outfit by just coloring in with a black marker! Totally loved how it turned out! And off course, some bling on her belt!! My card is based on the sketch (#204) at SCS this week.
All in all, it took me longer to create this post that it did to make TWO matching cards today!
We'd love to have you play along too! Create a thank you card for someone and be sure to post the link so we can all see it!! Also, stop by the other girl's blogs and see what they have created!! Links are in my sidebar!!


 My friend


 I made this card weeks ago, for

